by Aaron Perez
This article was published in the summer 2025 issue of our newsletter.
As I’ve traveled throughout the state as a circuit rider for Vermont Rural Water, I’ve worked with many very small water systems, some with fewer than 50 service connections. Most of the time, these systems have distribution lines made entirely of plastic pipe. While plastic has its advantages, it also brings challenges, especially when leaks develop or when you need to locate lines prior to construction projects.

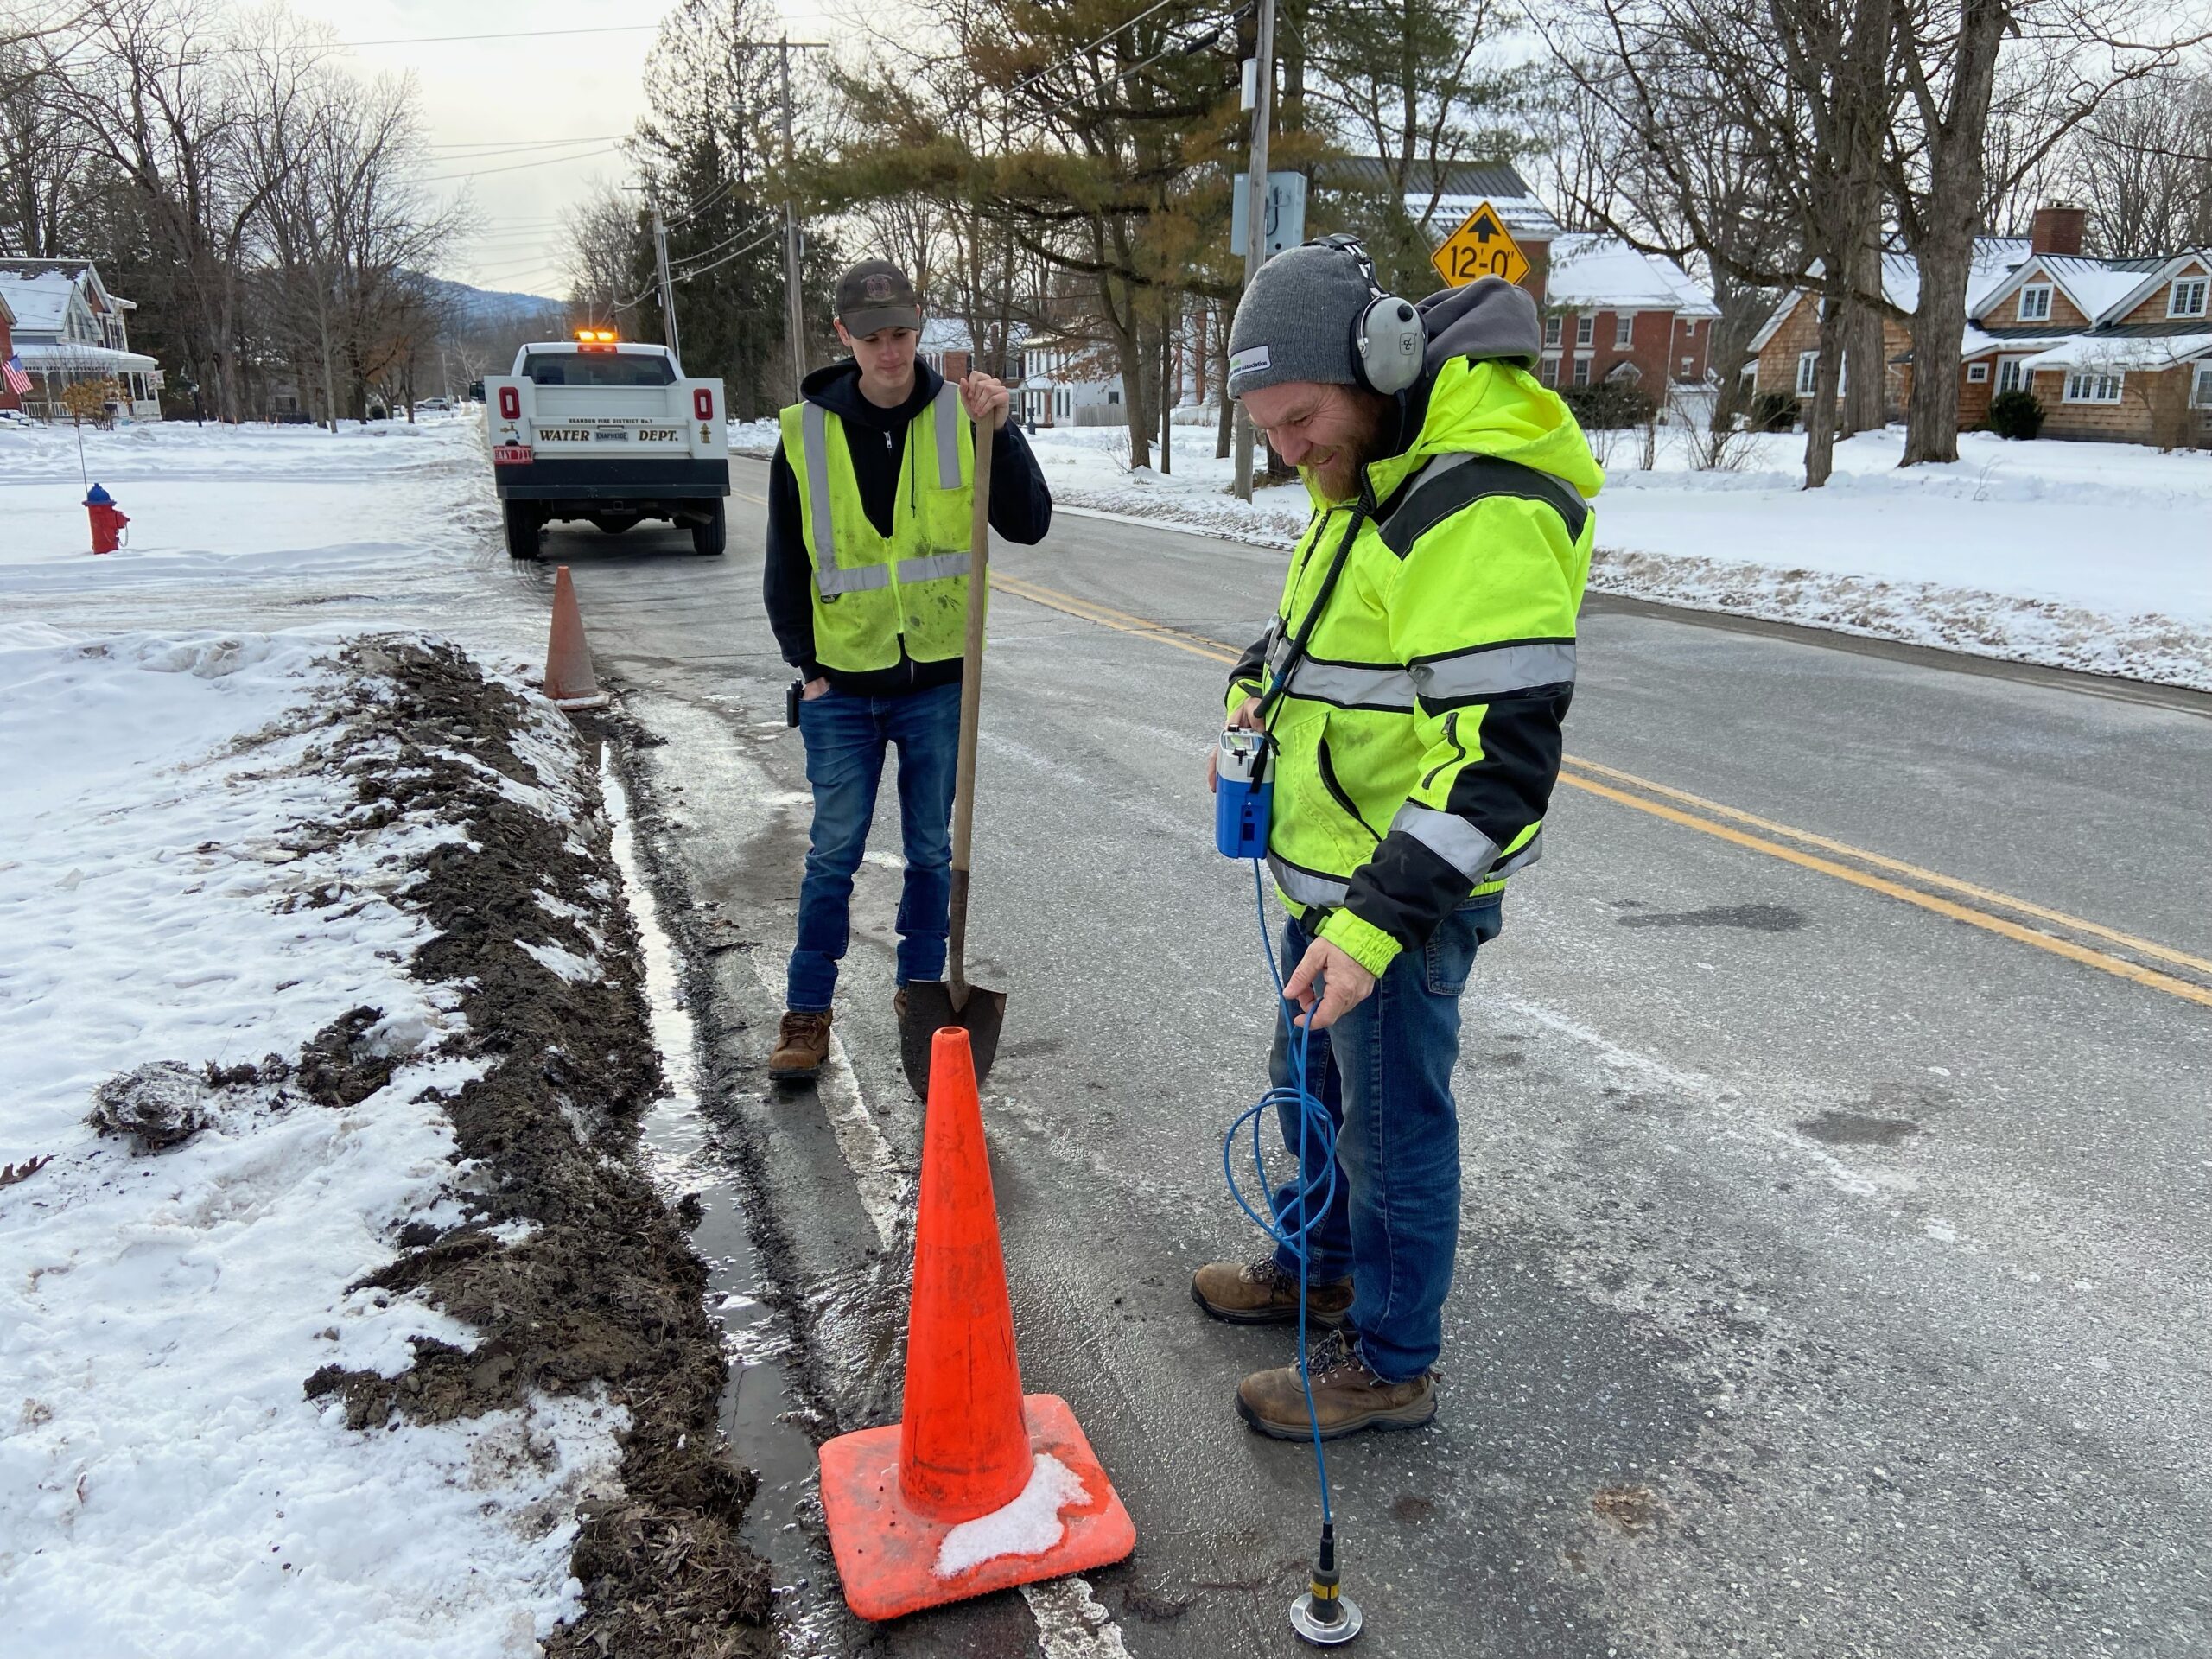
Aaron Perez (right) uses listening equipment to find a leak in Brandon, VT.
Over the years, I’ve picked up some tips that can save you time, money, and headaches when installing or repairing plastic lines. Here are a few things to keep in mind:
Good Mapping
Mapping is a great place to start. I’ve seen more hand-drawn maps than I can count, and while they often contain useful information, they’re rarely updated when changes happen. That’s a problem.
Inexpensive mapping software is available, but if you’re sticking with hand-drawn records, I strongly encourage you to keep them current. Every time you add a service or make a repair, take the time to note it on your map. A system map should be a living document. Update it whenever you can, even if it’s just verifying what’s already there.
Also, scan your maps and back them up. Share them, not just with yourself, but with the board, volunteers, or anyone else involved with the system. Too many times, I’ve run into systems with no maps at all because they were kept by one person and got lost.
Line Locating
Today’s location equipment is fantastic, but it’s useless at finding plastic pipe unless there’s a tracing wire. I recommend using solid tracing wire instead of detectable tape. While the tape is handy as a visual indicator when digging, it doesn’t let you truly trace the line. Tracing wire should run uninterrupted from one access point to another, ideally every 500 feet or so, and should be brought up the outside of curb stops or valve boxes.
If you use couplings while installing lines, mark them on your map and consider burying small metal objects or magnets just below the ground surface above the couplings. That way, they can be found with a metal detector later. In my experience, most leaks in plastic lines happen at the fittings and couplings, so it pays to mark them.

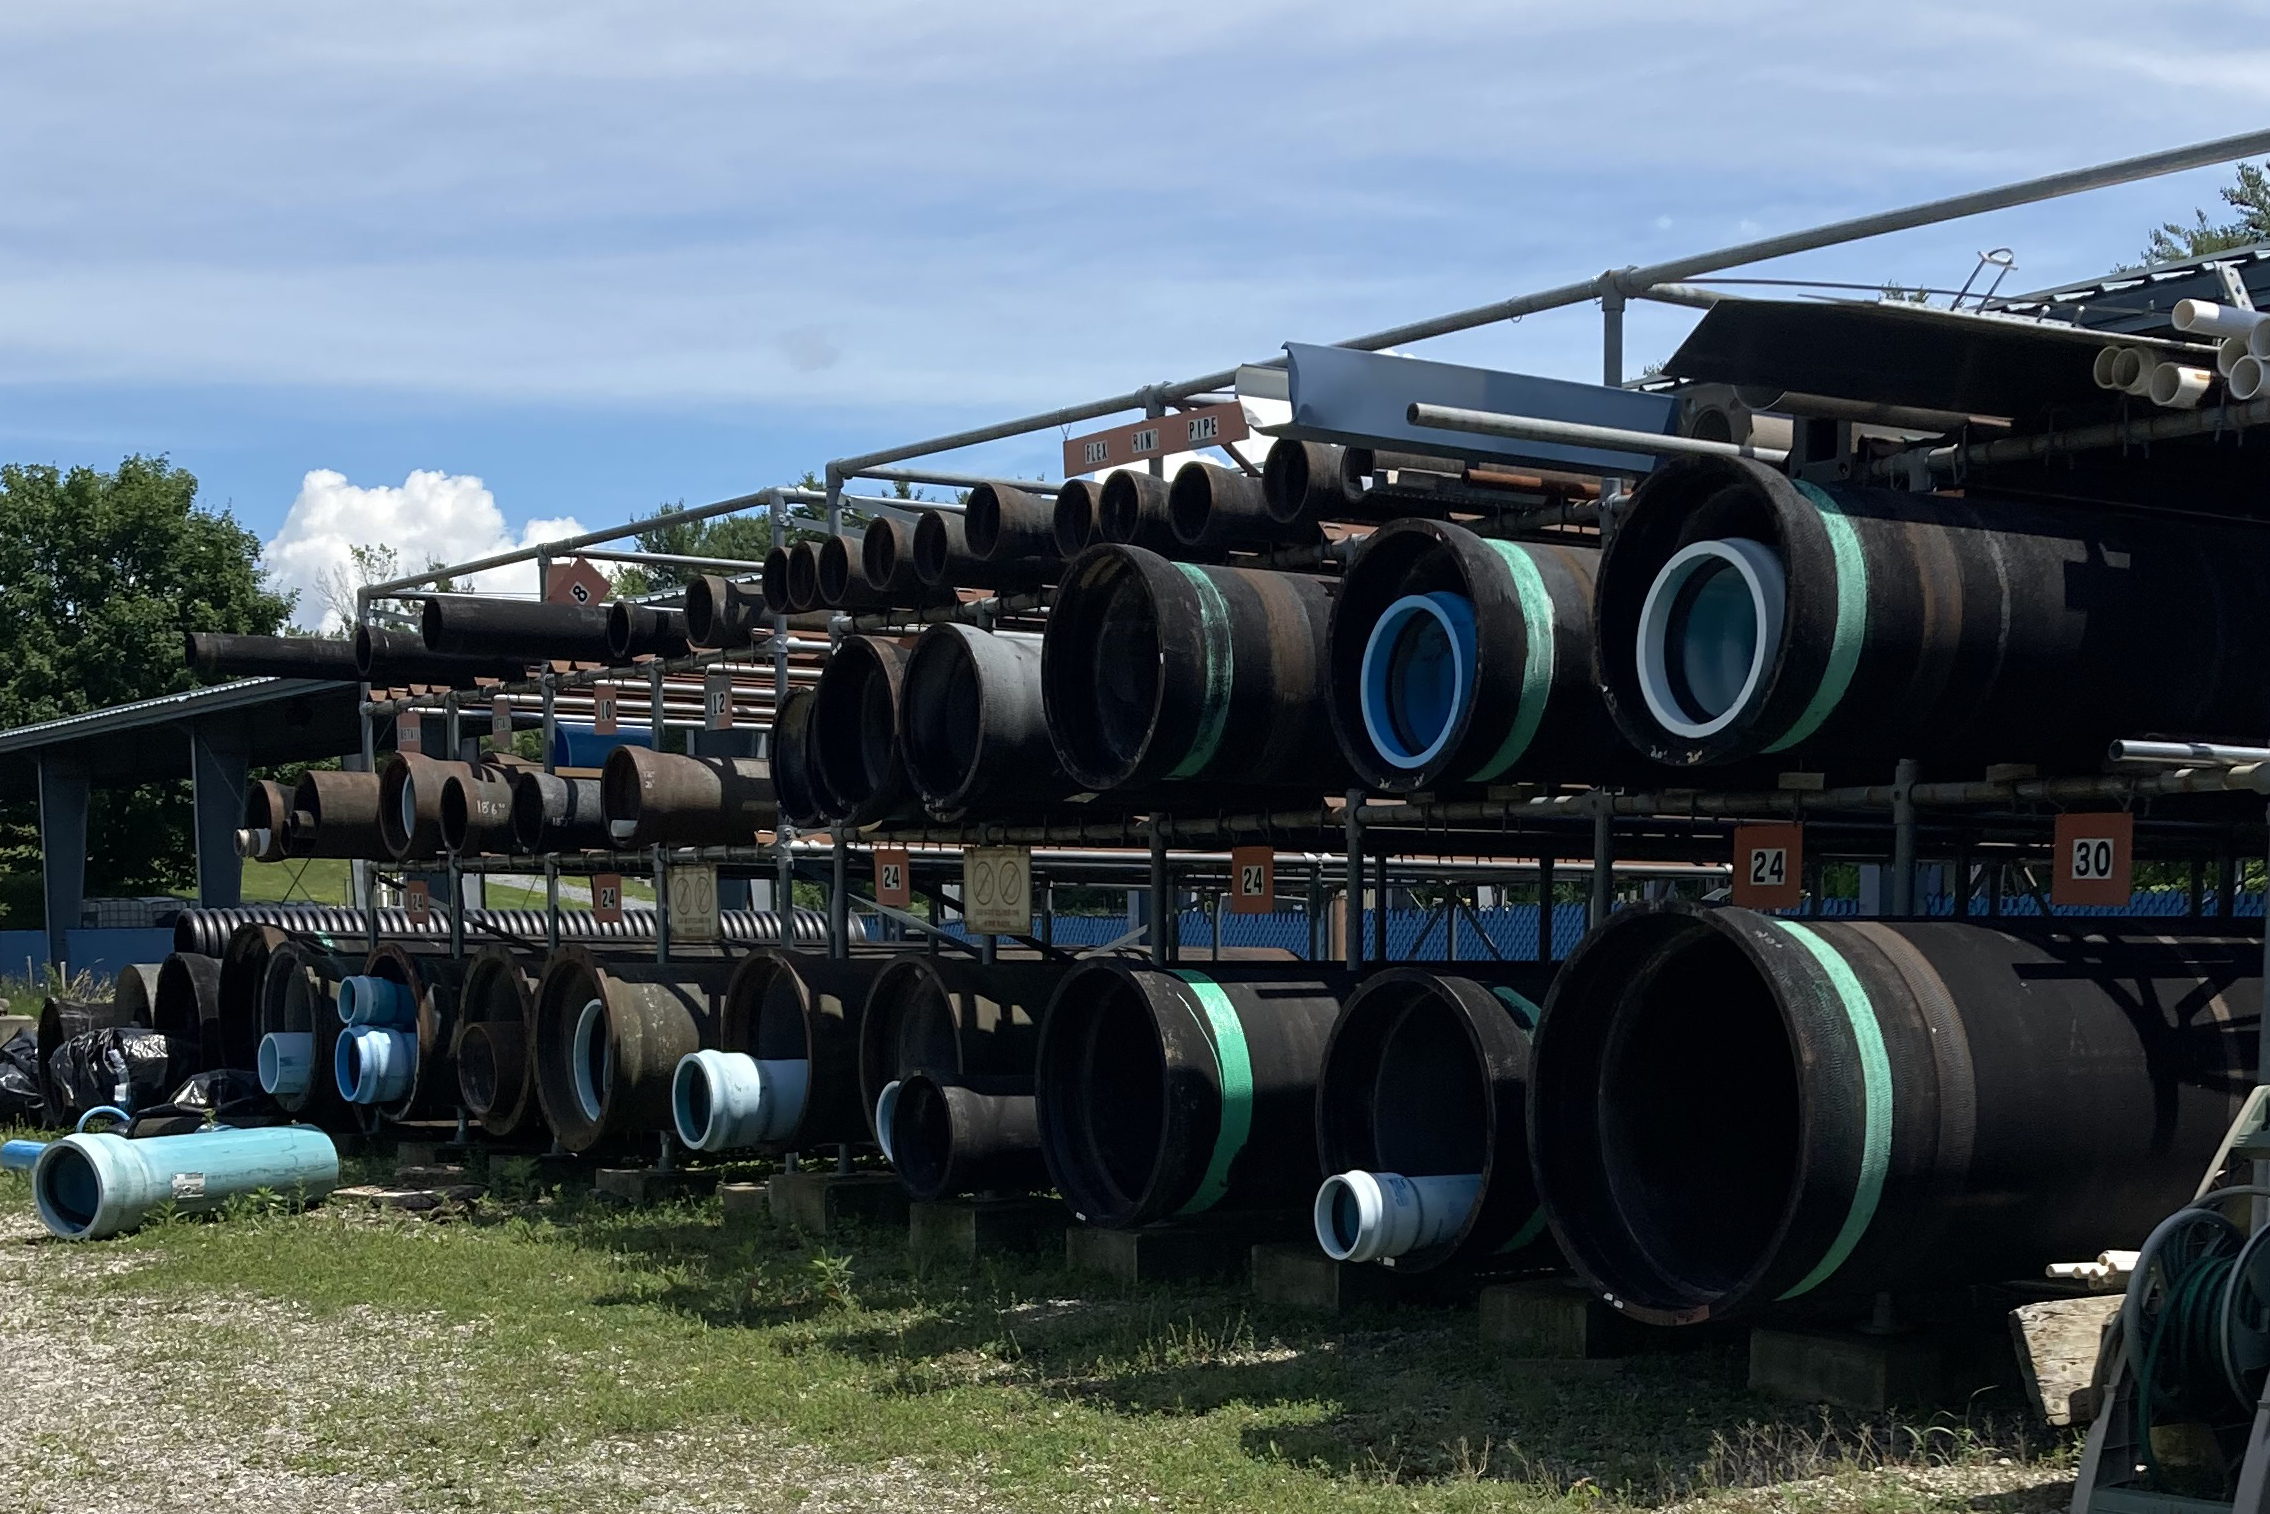
Variety of pipes at Champlain Water District.
Leak Detection
Finding leaks on plastic pipes can be a real challenge. Sound doesn’t travel through plastic the way it does through metal, making acoustic tools like ground mics less effective. Correlators can work well—but only if you have two access points within about 500 to 600 feet of each other. Unfortunately, I sometimes come across lines with no access for over 1,000 feet. In those cases, I suggest installing a valve box or even just a vertical, capped 3-inch to 4-inch piece of PVC pipe below ground level with the line exposed at the bottom. This gives you a mid-point access spot for correlator probes and also a place to bring your tracing wire that you so wisely installed up to the surface.
Isolation Valves
If you’ve got a master meter and enough isolation valves, you can use it to help find leaks by shutting down different sections of your system. I recommend doing this at night when water demand is low. Watch the master meter while you isolate sections one at a time. It can help you narrow down the location of a leak without guesswork.
Yes, doing this prep work adds a bit of cost and time up front. But trust me—it’ll pay off one cold winter night when there’s a leak that’s not surfacing, and instead of wasting hours chasing it down, you already have the tools and information to find it quickly.

